Advanced IP Scanner is a free, widely used tool for scanning local networks and discovering devices. Deploying it manually on many PCs is tedious. Microsoft Intune’s Win32 app feature lets you package the installer and deploy it to Windows 10 and Windows 11 devices from the cloud. With silent install, uninstall, and detection rules.
This guide walks through downloading the installer, wrapping it with the Microsoft Win32 Content Prep Tool, then adding and assigning the app in Intune.
What You’ll Do
You’ll:
- Download Advanced IP Scanner from the official site.
- Use the Microsoft Win32 Content Prep Tool to create an
.intunewinpackage. - Add the app in Intune as a Windows app (Win32), set install/uninstall commands and detection rules, then assign it to users or devices.
The Intune management extension on each device will run the install; no imaging or on-prem servers are required.
Step 1: Download Advanced IP Scanner
Get the installer from the official website so you have a single executable to package.
Open https://www.advanced-ip-scanner.com/ in your browser.

Click Free Download and save the file (e.g. Advanced_IP_Scanner_2.5.4594.1.exe). The exact filename may vary by version.
Step 2: Create the Intune Win32 Package
Intune expects Win32 apps in the .intunewin format. Use the official Microsoft Win32 Content Prep Tool to wrap your installer.
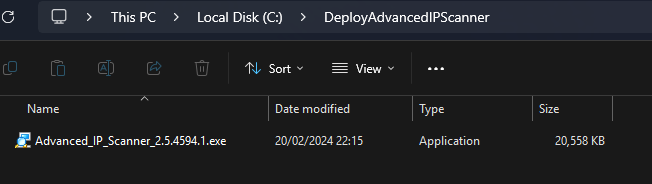
- Create a folder for the source (e.g.
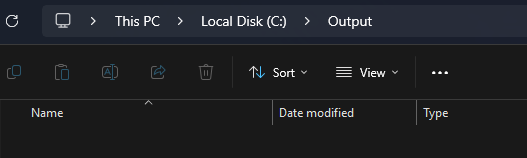
C:\DeployAdvancedIPScanner) and copy the downloaded executable into it. - Create an output folder (e.g.
C:\Output) where the tool will write the.intunewinfile.
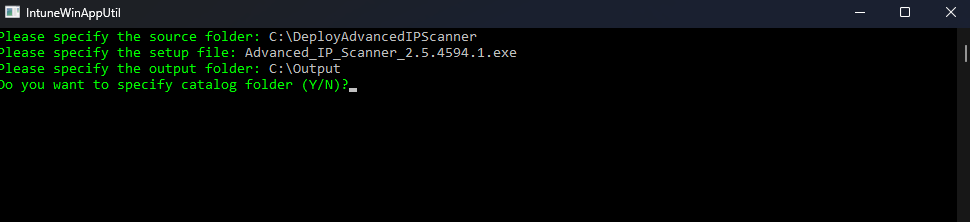
Download and install the Microsoft Win32 Content Prep Tool from Microsoft’s documentation (search for “Win32 Content Prep Tool” or “IntuneWinAppUtil”). Run the tool as Administrator.
When prompted, specify:
- Source folder:
C:\DeployAdvancedIPScanner(or your folder) - Setup file: The executable name (e.g.
Advanced_IP_Scanner_2.5.4594.1.exe) - Output folder:
C:\Output(or your folder) - Catalog folder: No (unless you use one)
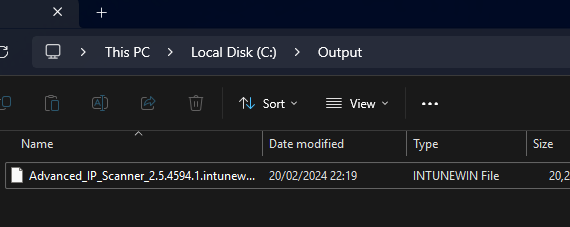
The tool generates an .intunewin file in the output folder (e.g. Advanced_IP_Scanner_2.5.4594.1.intunewin). You’ll upload this in the next step.
Step 3: Add and Deploy the App in Intune
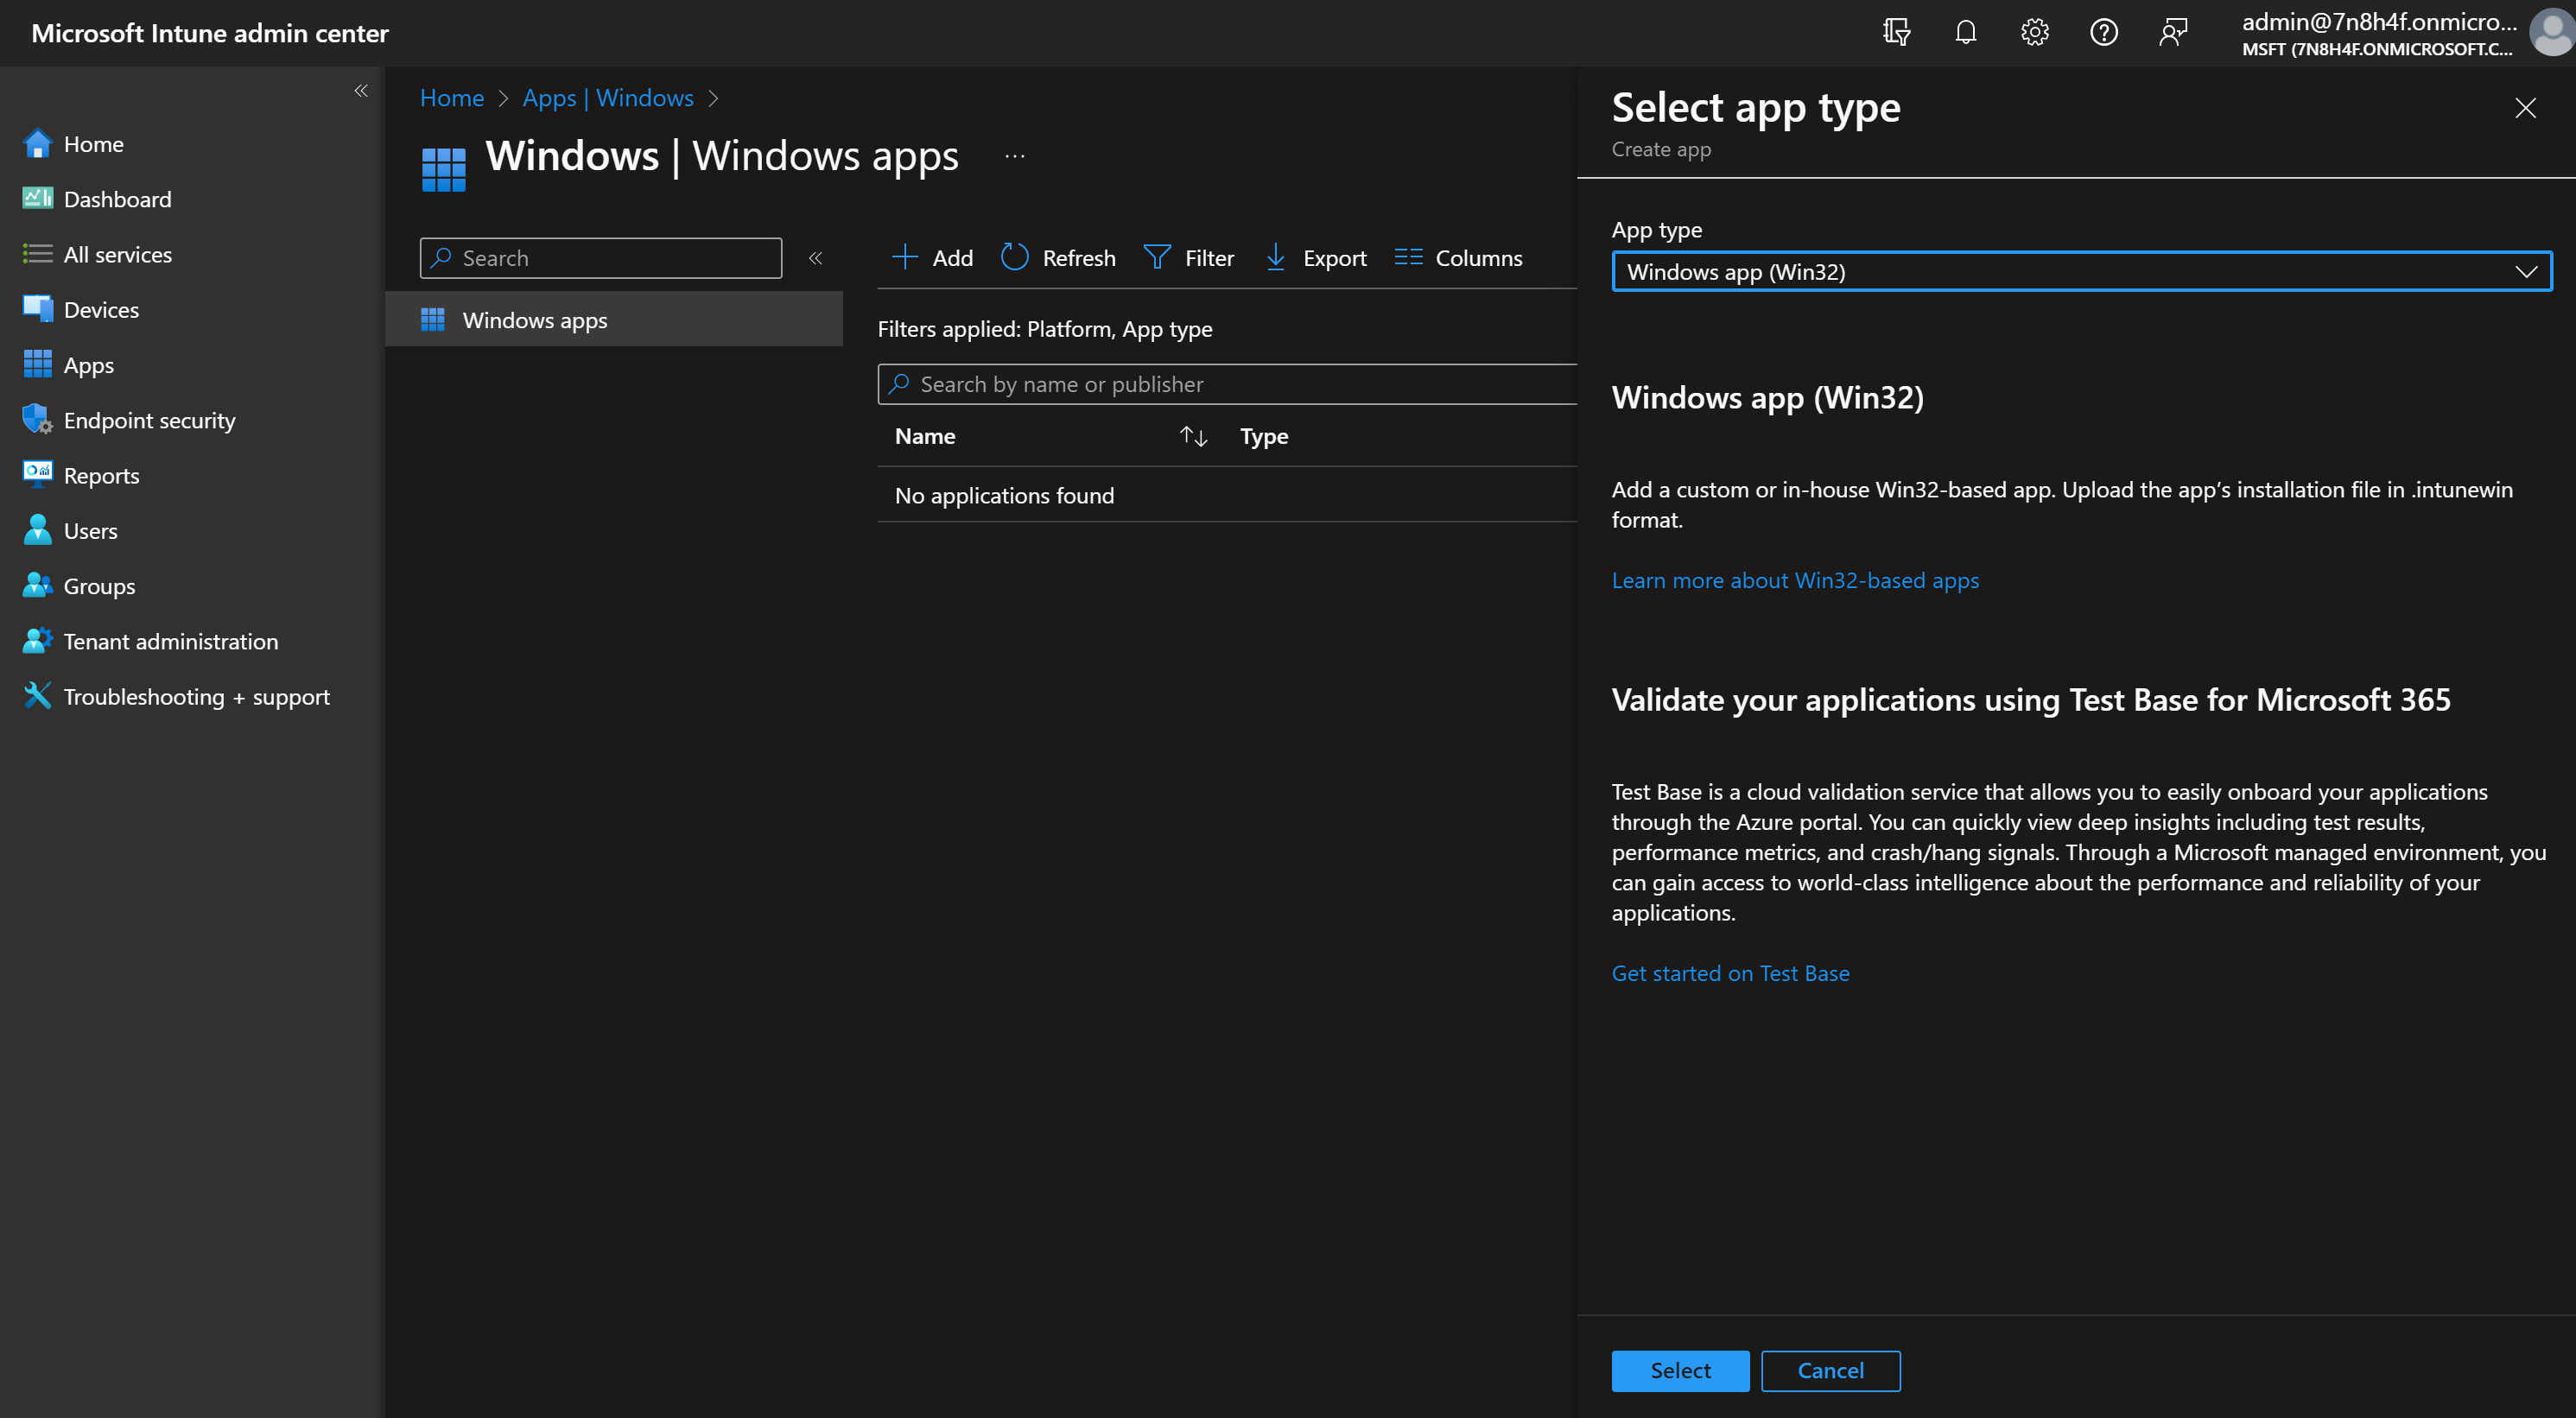
In the Microsoft Intune admin center, go to Apps → Windows → Add. Choose App type: Windows app (win32), then Select.
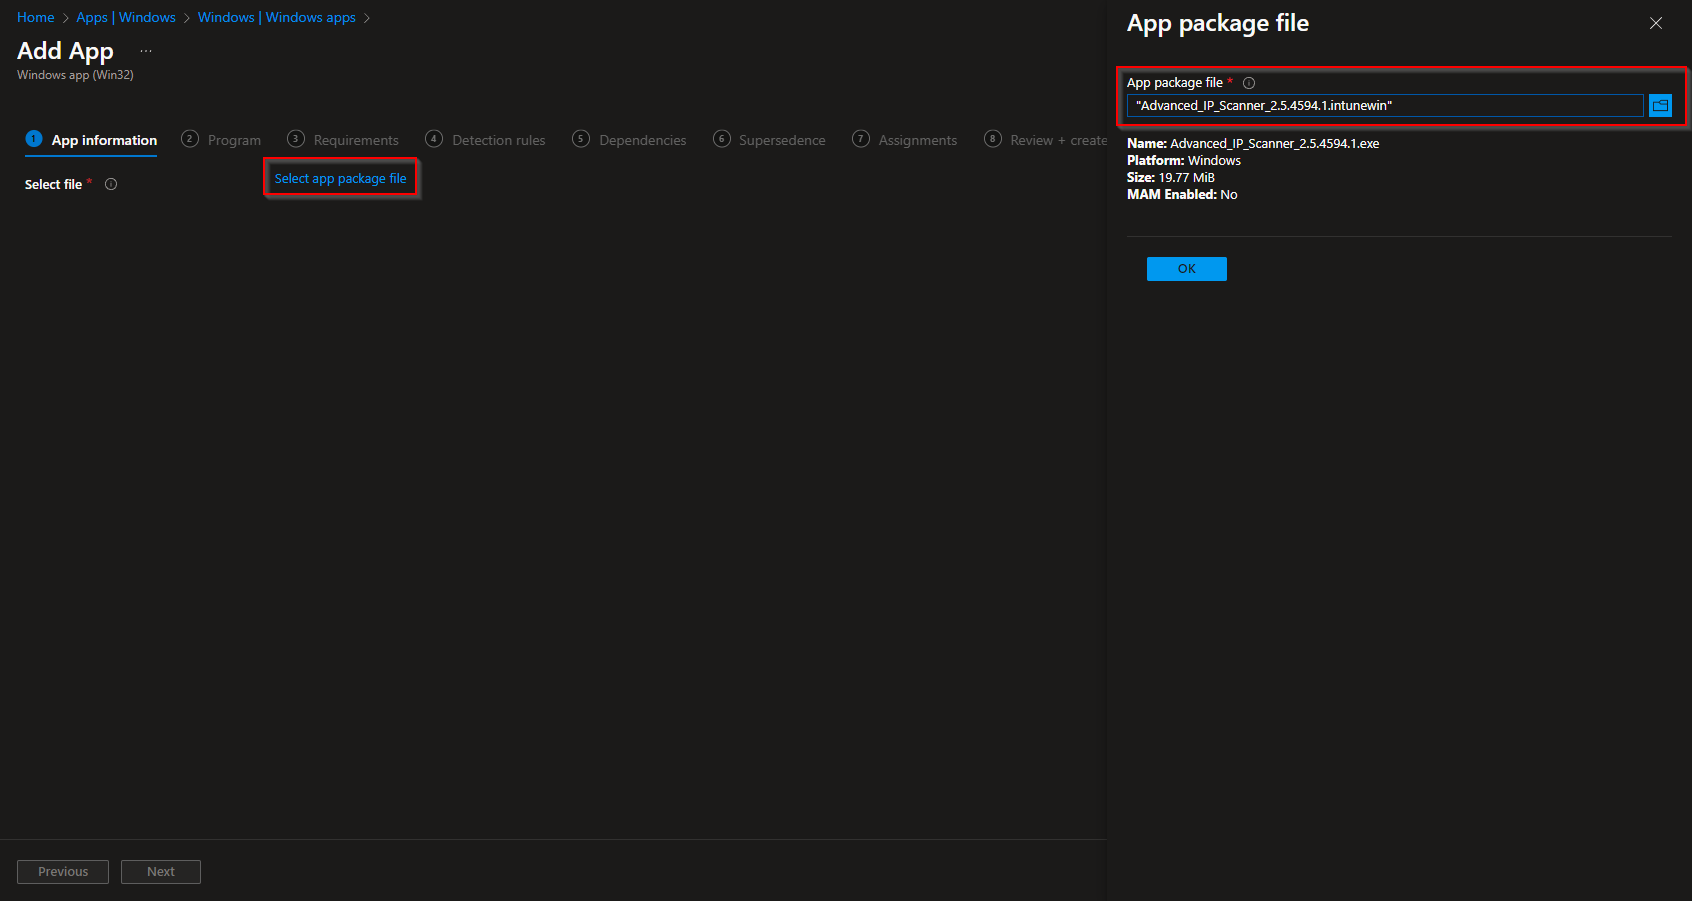
Under App package file, click Select app package file and upload the .intunewin file from your output folder. Click OK, then Next.
On App information, set name, description, and publisher (e.g. Famatech). Click Next.
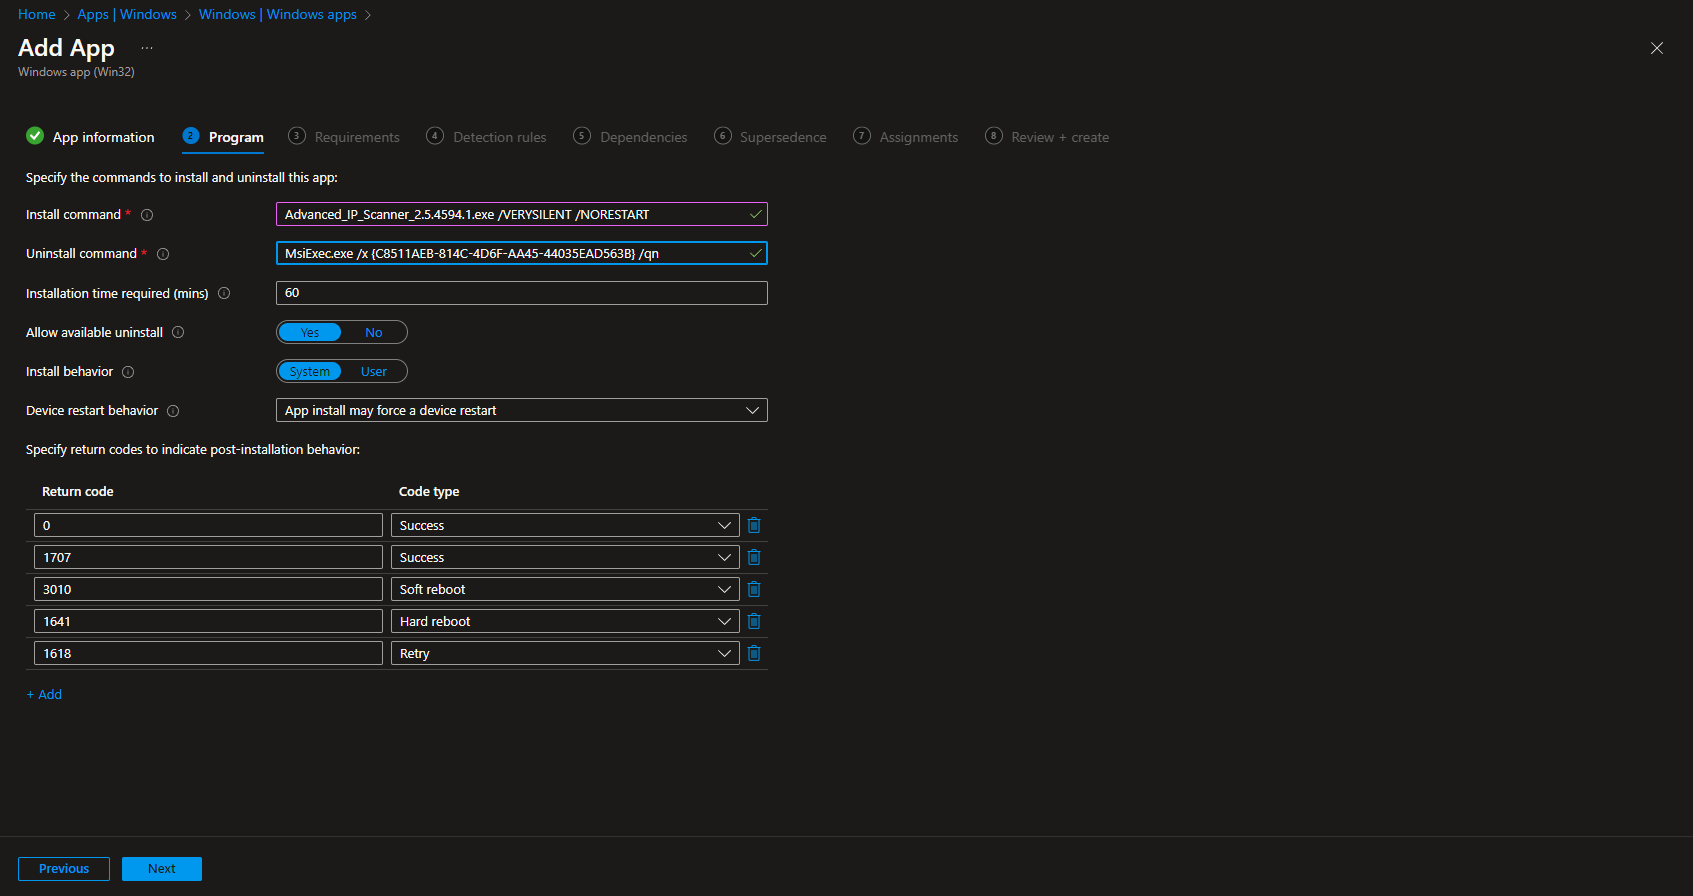
On the Program tab, set:
- Install command:
Advanced_IP_Scanner_2.5.4594.1.exe /VERYSILENT /NORESTART(adjust the executable name if yours is different) - Uninstall command:
MsiExec.exe /x {C8511AEB-814C-4D6F-AA45-44035EAD563B} /qn - Allow available uninstall: Yes
- Install behavior: System
On Requirements, set the minimum OS (e.g. Windows 10 1607) and architecture (e.g. 64-bit). Click Next.
On Detection rules, add a rule so Intune can detect if the app is already installed:
- Rule type: File
- Path:
C:\Program Files (x86)\Advanced IP Scanner - File or folder:
advanced_ip_scanner.exe - Detection method: File or folder exists
- Associated with a 32-bit app on 64-bit clients: No
Click OK, then Next. Configure Dependencies and Supersedence if needed, then Next.
On Assignments, add the groups (or All Users/All Devices) that should receive the app. Click Next, review on Review + create, then click Create.

Intune will sync the app to assigned devices and install it using the install command and detection rules you defined.
Conclusion
You can deploy Advanced IP Scanner to Intune-managed Windows devices by downloading the installer, packaging it with the Win32 Content Prep Tool, and adding it in Intune as a Win32 app with the correct install/uninstall commands and a file-based detection rule. This gives you a repeatable, cloud-driven way to roll out the tool across your organization.