With Internet Explorer 11 retired from Windows, IE Mode in Microsoft Edge is the supported way to run legacy web apps that need the old IE engine. The classic approach was to build an Enterprise Mode site list (XML) with the Enterprise Site List Manager, host it (e.g. in Azure Blob Storage), and point Edge at the URL via policy. Workable but clunky. Cloud Site List Management replaces that: you create and manage site lists in the Microsoft 365 Admin Center, publish them, and reference a Site List ID in Microsoft Intune (or Group Policy). No XML uploads or blob URLs. This post walks through creating and publishing a site list in the admin center, capturing the Site List ID, and configuring IE Mode in Intune with an Administrative Templates profile. You need the Microsoft Edge Administrator role to use Cloud Site List Management, and devices need Microsoft Edge version 93 or later (most current deployments already meet this).
Requirements
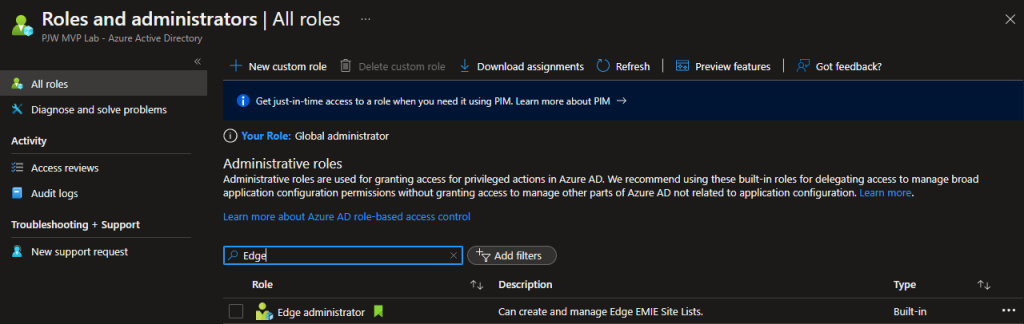
To manage site lists in the cloud you must be assigned the Microsoft Edge Administrator role in Microsoft 365 (or have equivalent permissions). Devices must run Microsoft Edge v93 or later to use the cloud site list; at current cadence that is typically already in place. The same policy settings are available in Group Policy if you manage Edge via GPO instead of Intune.
Below: the Microsoft Edge Administrator role requirement.
Create and Publish a Site List in Microsoft 365 Admin Center
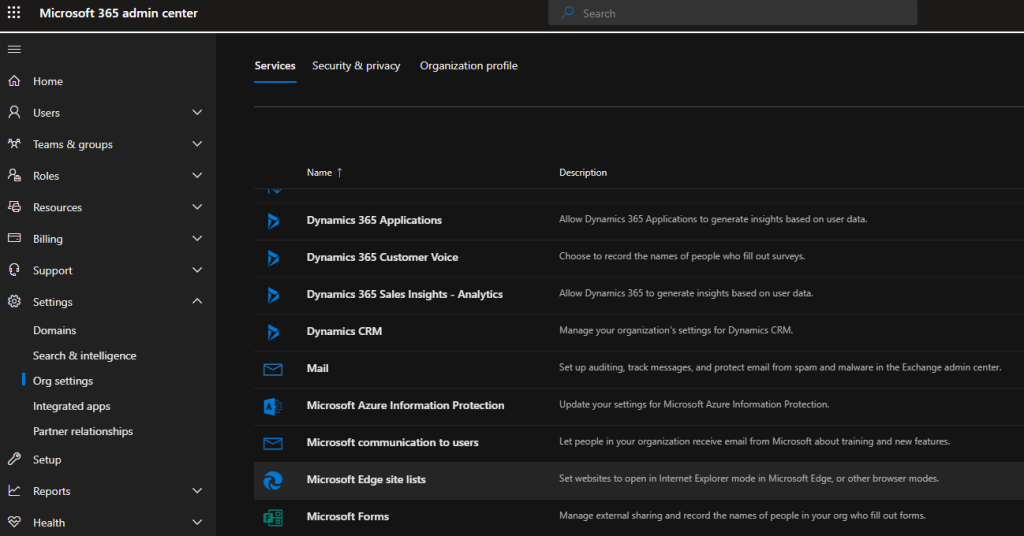
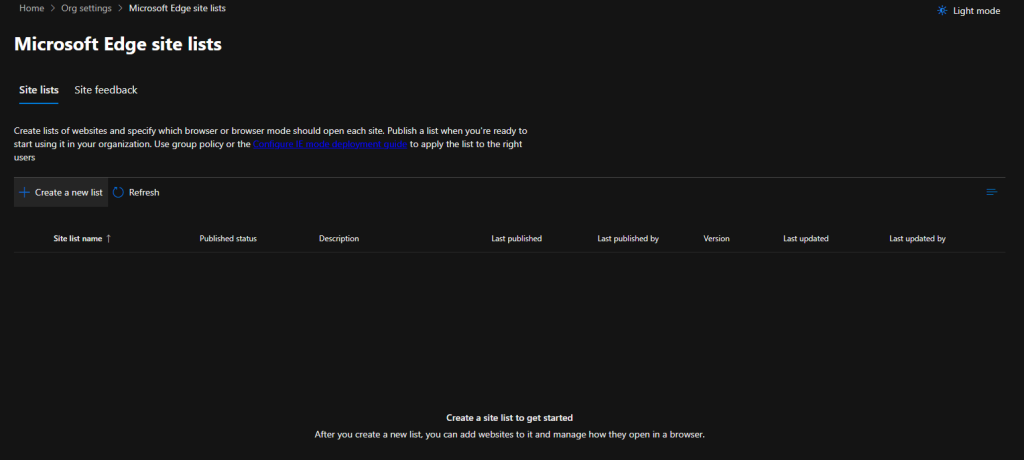
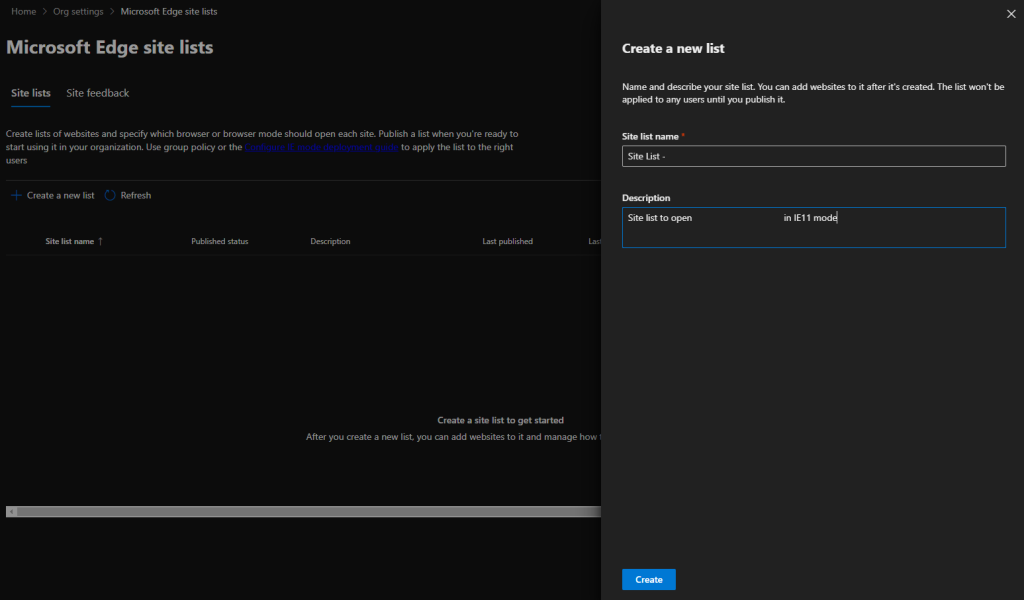
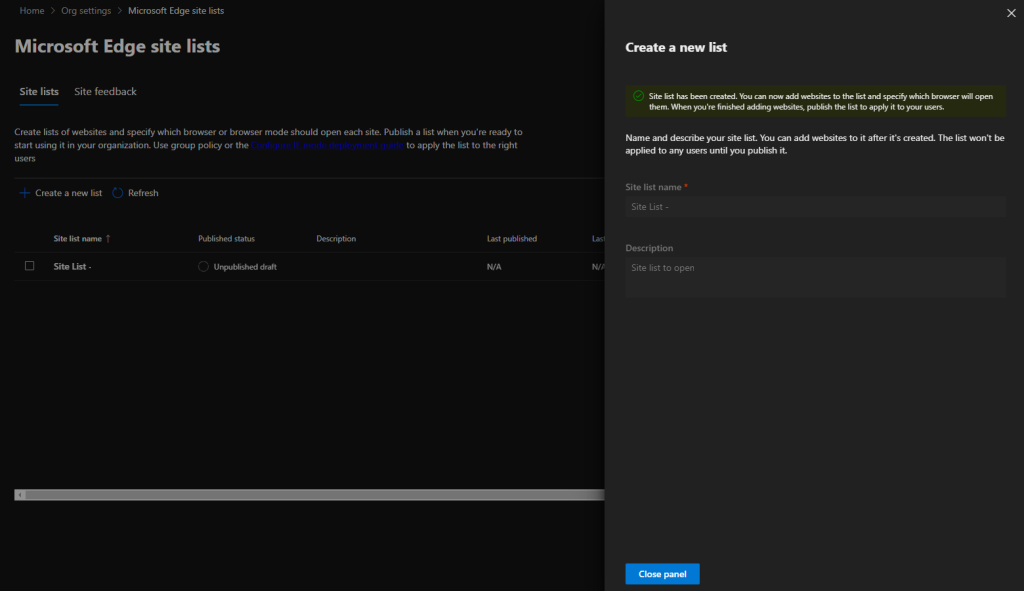
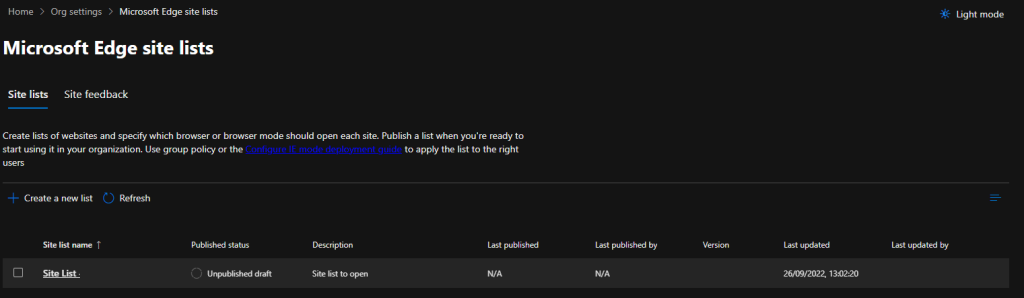
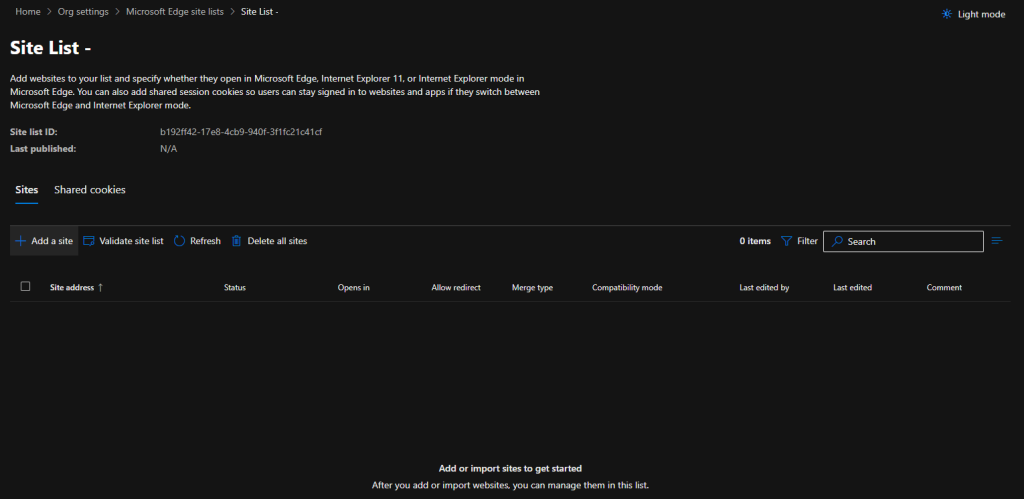
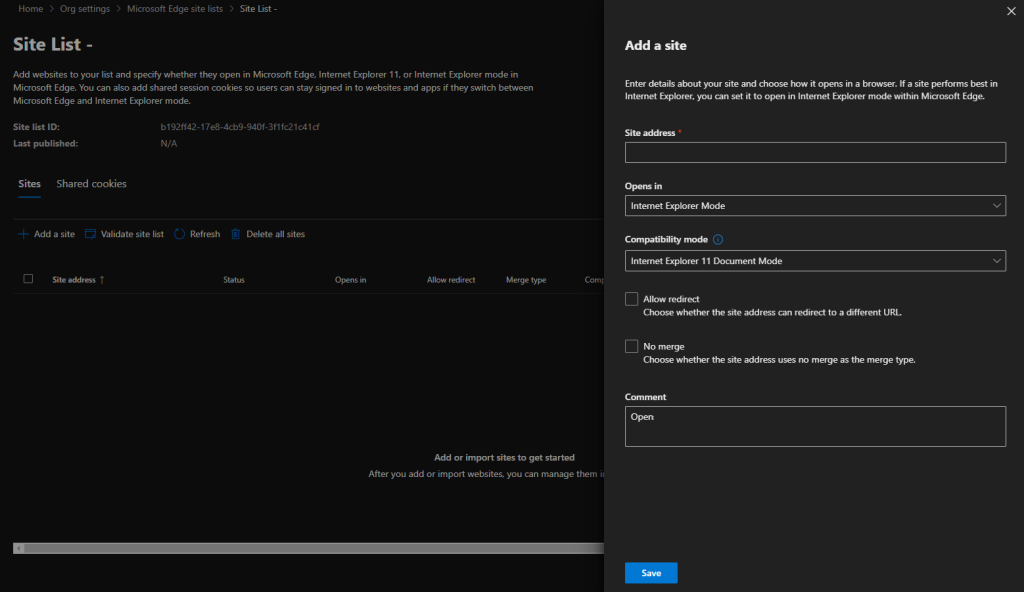
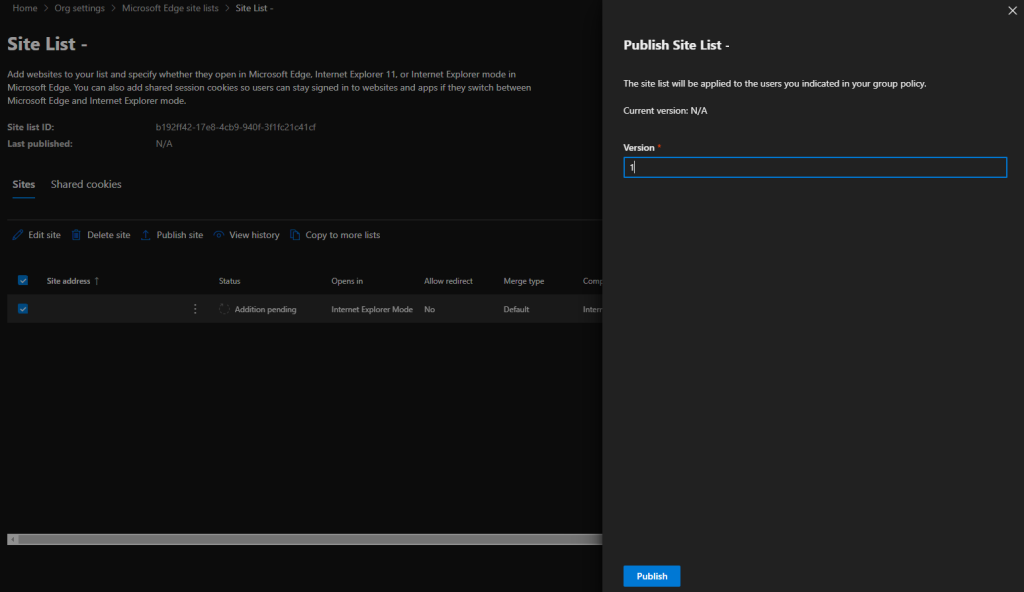
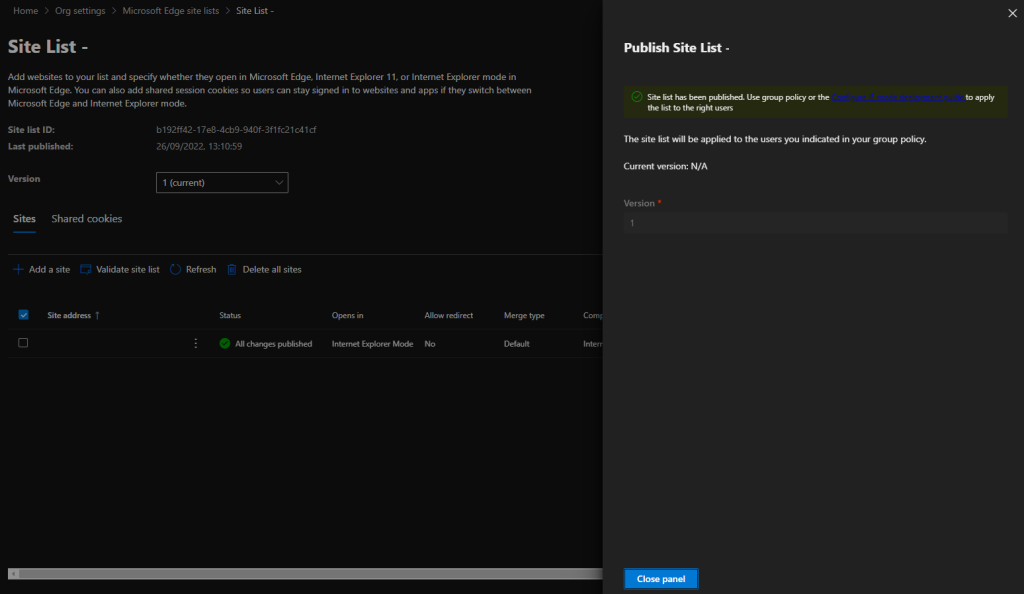
In the Microsoft 365 Admin Center, go to Settings → Org settings and open Microsoft Edge site lists. You can maintain multiple site lists (e.g. by region or app). Click Create a new list. Give the list a name and an optional description, then click Create. Open the new list, click Add a site, and enter the URLs and options for each site that should open in IE Mode (e.g. path, compatibility mode). Save the site. Repeat for all URLs you need. It is recommended to Validate site list before publishing; fix any invalid entries, then select the list and click Publish site. Set or confirm the version number and click Publish. After publishing, note the Site List ID shown for that list. You will use it in Intune.
Below: Microsoft 365 Admin Center – Microsoft Edge site lists.
The screenshot shows creating a new site list.
Below: site list name and description.
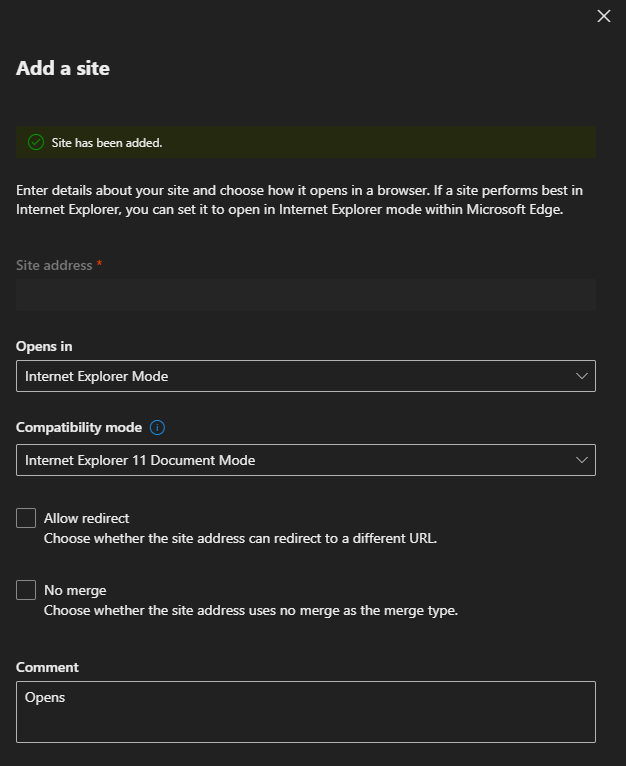
The following screenshot shows opening the site list and adding a site.
Below: site configuration settings.
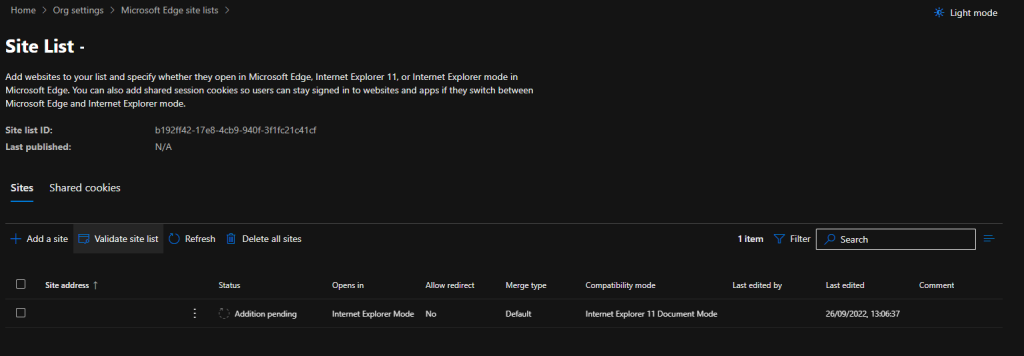
The screenshot shows site added confirmation.
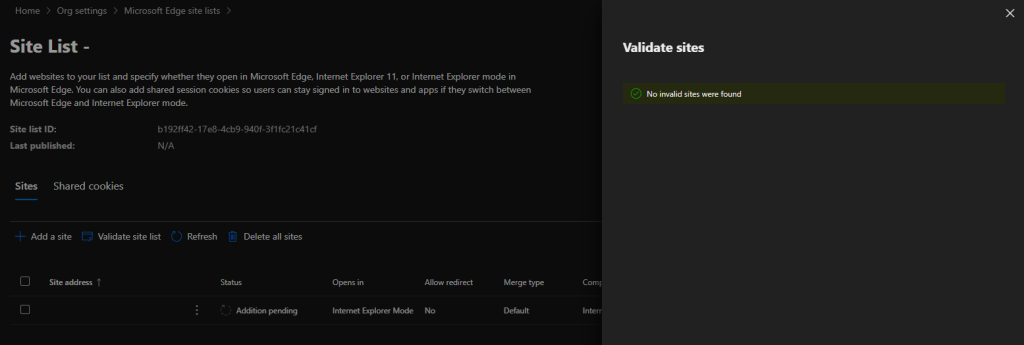
Below: validating the site list.
The following screenshot shows site validation results.
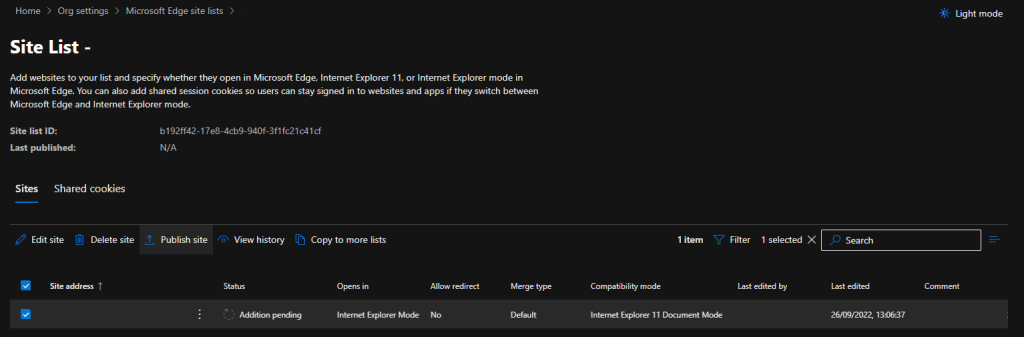
Below: publishing the site list.
The screenshot shows confirming version and publish.
Below: site list published.
The following screenshot shows the Site List ID.
Configure IE Mode in Intune
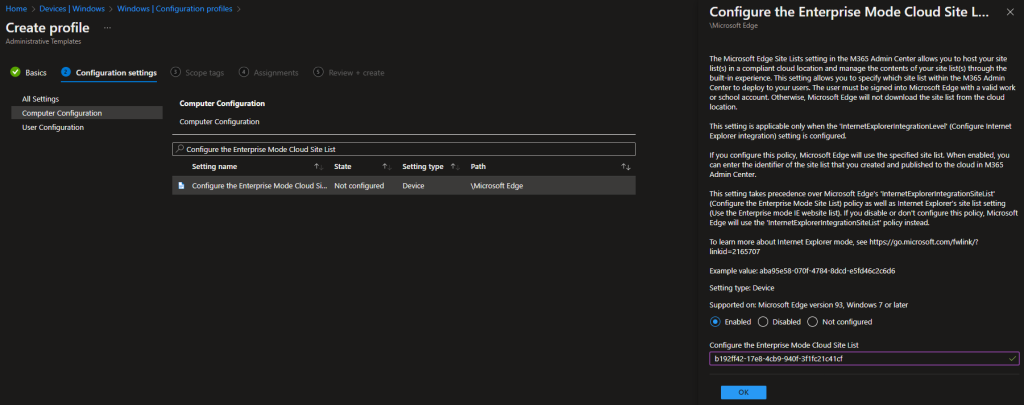
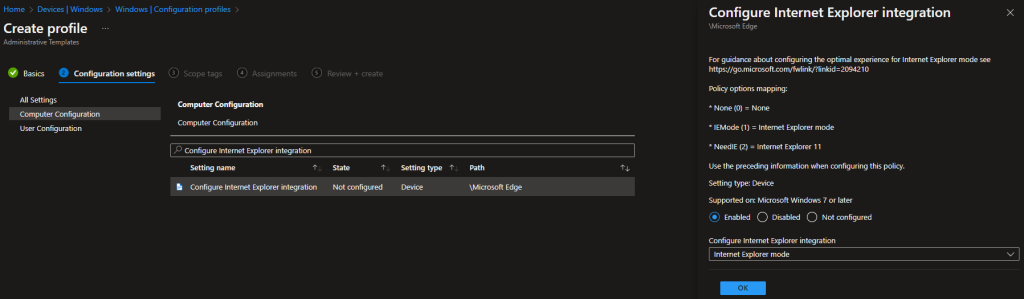
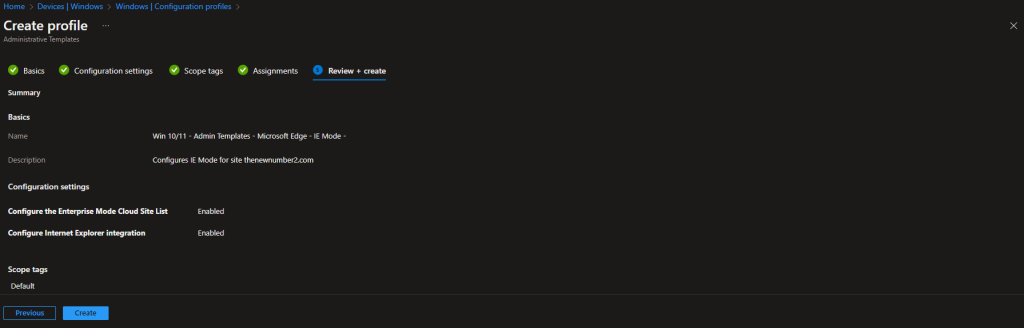
In the Microsoft Intune admin center, go to Devices → Windows → Configuration profiles and choose Create → New policy. Select Windows 10 and later and Templates, then Administrative templates, and click Create. On Basics, set a name (e.g. “Edge – IE Mode – Cloud site list”) and optional description. On Configuration settings, click Add settings and search for Configure the Enterprise Mode Cloud Site List. Set the policy to Enabled and in the policy value enter the Site List ID from the Microsoft 365 Admin Center (the GUID for your published site list). Add a second setting: search for Configure Internet Explorer integration, set it to Enabled, and set the option to Internet Explorer Mode (since IE 11 is end of life). Save the configuration step, set scope tags and assignments (e.g. to a group of Windows devices that need IE Mode), then create the profile.
Below: Intune Configuration profiles – Create profile.
The screenshot shows selecting the Administrative Template profile for Edge.

Below: configuring the Enterprise Mode Cloud Site List with the Site List ID.
The following screenshot shows configuring Internet Explorer integration – IE Mode.
Below: continuing to assignment.

The screenshot shows assigning the profile to a group.

Below: review and create profile.

Verify
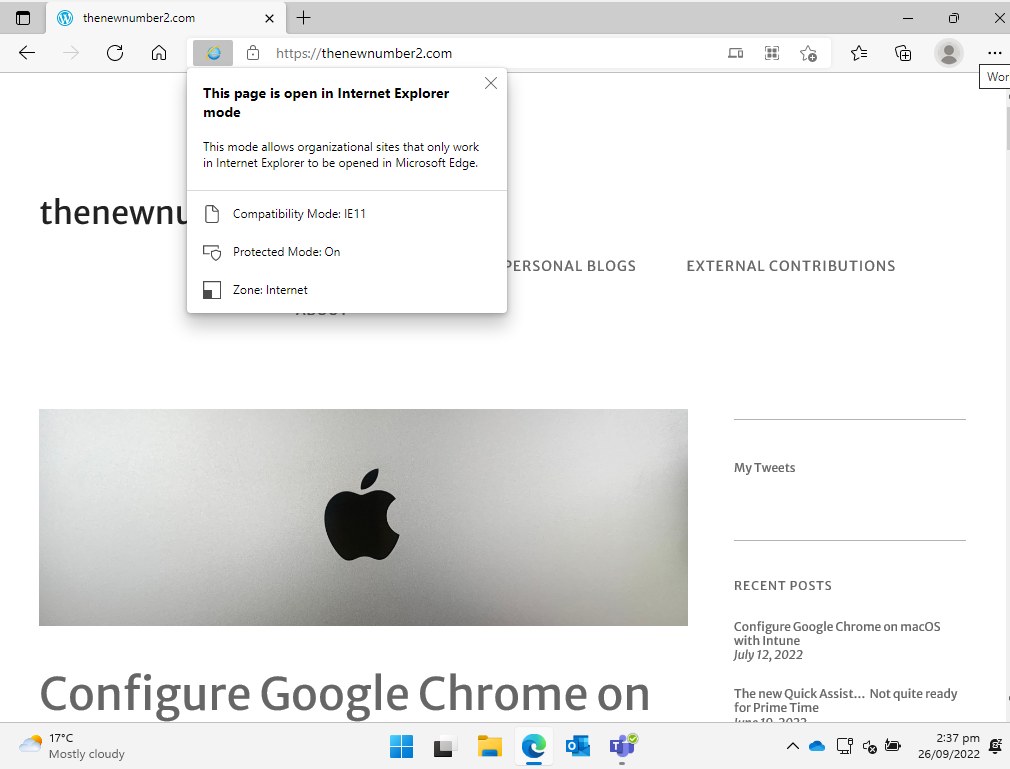
After the device syncs and Edge picks up the policy, open one of the URLs from your site list in Edge. The page should load in IE Mode (you will see an IE Mode indicator in the address bar or tab). If it does not, confirm the Site List ID in the Intune policy matches the published list, that the URL is in the list and published, that “Configure Internet Explorer integration” is set to Internet Explorer Mode, and that the device has the required Edge version.
Below: a page opening in IE Mode in Microsoft Edge.
The screenshot shows IE Mode verification in Edge.
Summary
To configure IE Mode with Cloud Site List Management: (1) In the Microsoft 365 Admin Center, go to Settings → Org settings → Microsoft Edge site lists. Create a new list, add the sites that need IE Mode, validate the list, then Publish and note the Site List ID. You need the Microsoft Edge Administrator role; devices need Edge v93 or later. (2) In Intune, create an Administrative templates configuration profile (Windows 10 and later). Enable Configure the Enterprise Mode Cloud Site List and set the value to your Site List ID. Enable Configure Internet Explorer integration and set it to Internet Explorer Mode. Assign the profile to the right device group. (3) After sync, open a listed URL in Edge to confirm it loads in IE Mode. Cloud Site List Management avoids XML and blob storage and keeps site list management and versioning in the admin center.