Deploying Google Chrome to macOS via Microsoft Intune is one step; enforcing browser settings (homepage, startup pages, extensions, and so on) is another. On macOS you can do that with an Intune Preference file configuration profile. A property list (plist) that Intune deploys to the device. That lets you align Chrome behavior on Macs with what you configure on Windows for a consistent experience. Important: Intune’s Preference file format is not the same as a raw plist you might copy from a Mac; you must follow the Microsoft documentation on preference file format (e.g. XML structure, keys, and types). This post walks through finding the right Chrome policies, building a plist, and deploying it as a Preference file profile in Intune.
Chrome Policies and Plist Format
Use the Chrome Enterprise policies list to see which settings exist and how to represent them. You can filter by Operating system (e.g. macOS), Chrome version, and search by policy name (e.g. “Homepage”). Each policy page shows the key name, expected type (string, integer, array, boolean), and description. Use that to build the plist content. Remember: the file you upload in Intune must match the preference file format Microsoft expects. See the Intune docs for the exact XML/plist structure (e.g. no binary plist; use the XML-style representation Intune accepts).
Below: Microsoft documentation about the plist preference file format for macOS.

The screenshot shows the Chrome Enterprise policies list.
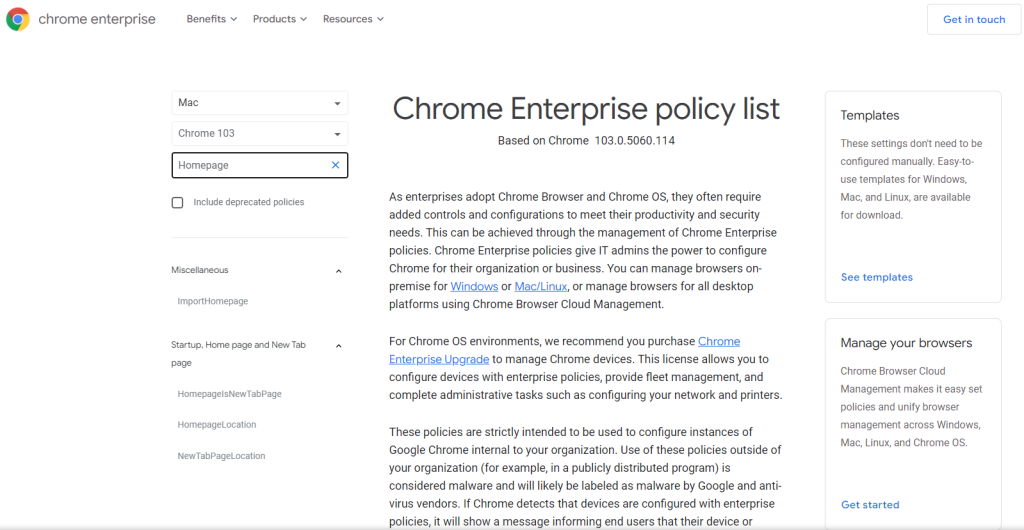
Below: searching for the Homepage policy for macOS.
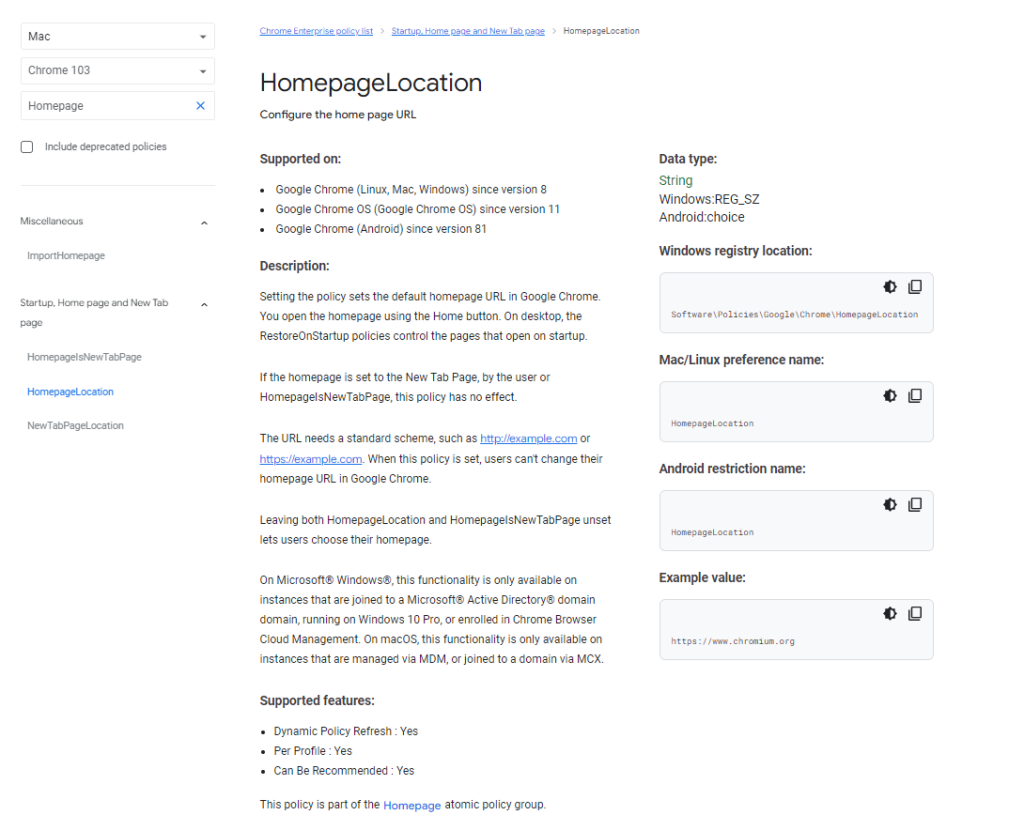
The following screenshot shows Chrome policy details and information.
Example Plist Content
Below is an example of plist-style content you might use for Chrome on macOS: set a homepage, show the home button, set the new tab page, restore on startup, enable component updates, and force-install an extension (e.g. Windows Accounts for Microsoft 365). Adjust keys and values to match the Chrome policy names and types from the Enterprise policies list.
<key>ShowHomeButton</key>
    <true />
<key>HomepageLocation</key>
    <string>https://example.com</string>
<key>NewTabPageLocation</key>
    <string>https://example.com</string>
<key>HomepageIsNewTabPage</key>
    <true />
<key>RestoreOnStartup</key>
    <integer>5</integer>
<key>RestoreOnStartupURLs</key>
    <array>
        <string>https://example.com</string>
    </array>
<key>ComponentUpdatesEnabled</key>
    <true />
<key>ExtensionInstallForcelist</key>
    <array>
        <string>ppnbnpeolgkicgegkbkbjmhlideopiji;https://clients2.google.com/service/update2/crx</string>
    </array>
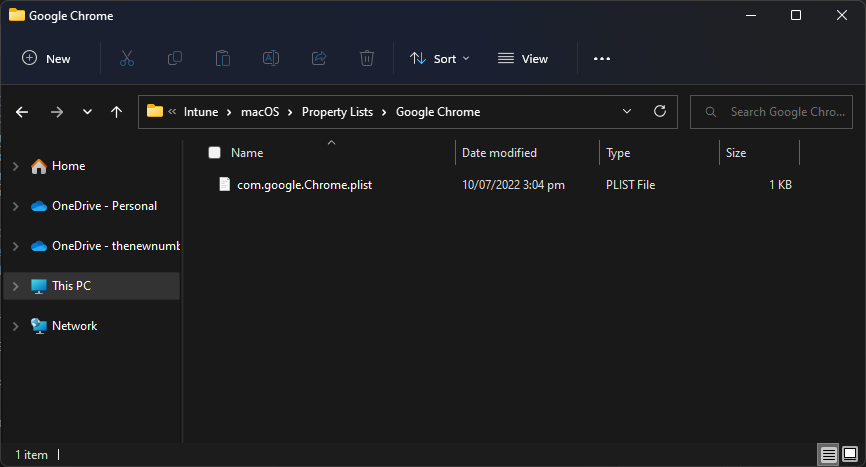
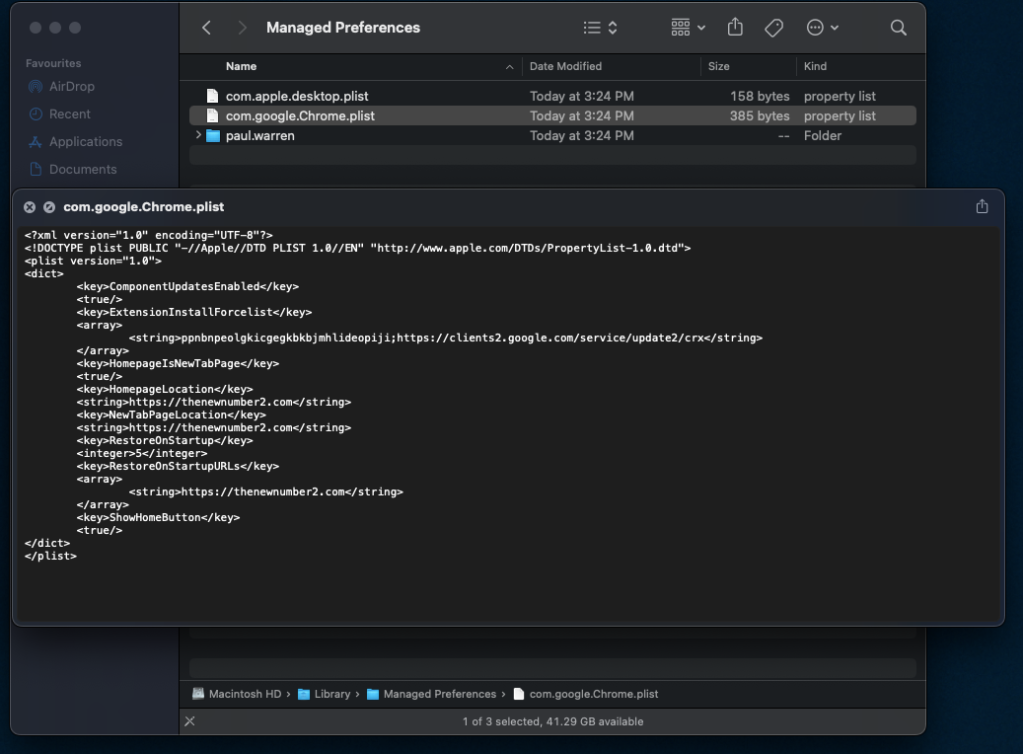
Save the file as com.google.Chrome.plist (or another name; the preference domain you enter in Intune must be com.google.Chrome so macOS and Chrome apply it correctly). Ensure the file matches the format required by Intune for Preference file profiles.
Below: the saved plist file for Chrome.
Create the Preference File Profile in Intune
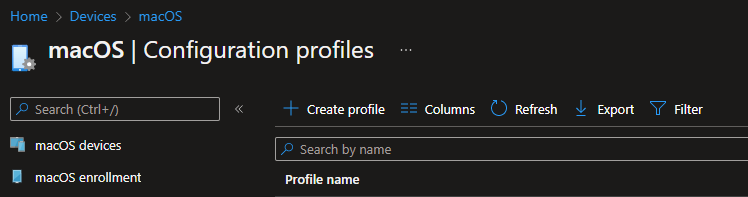
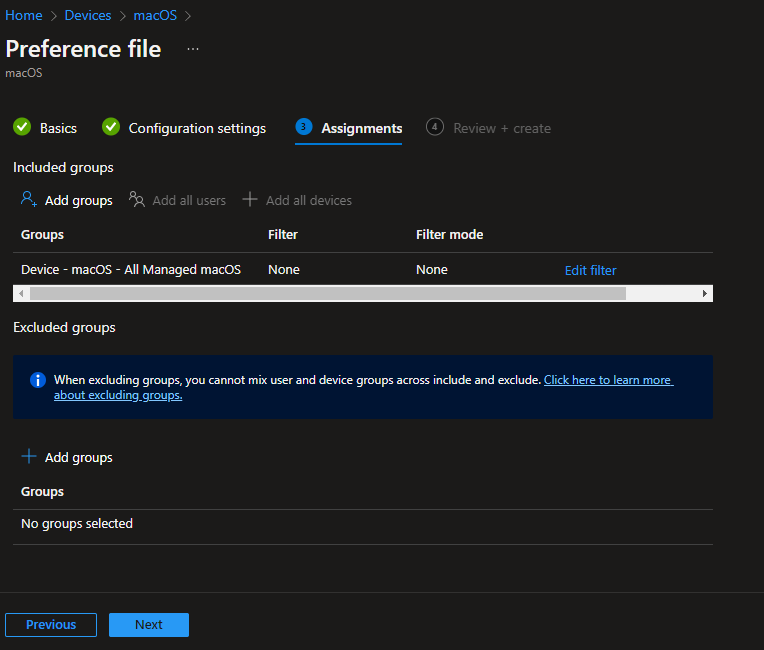
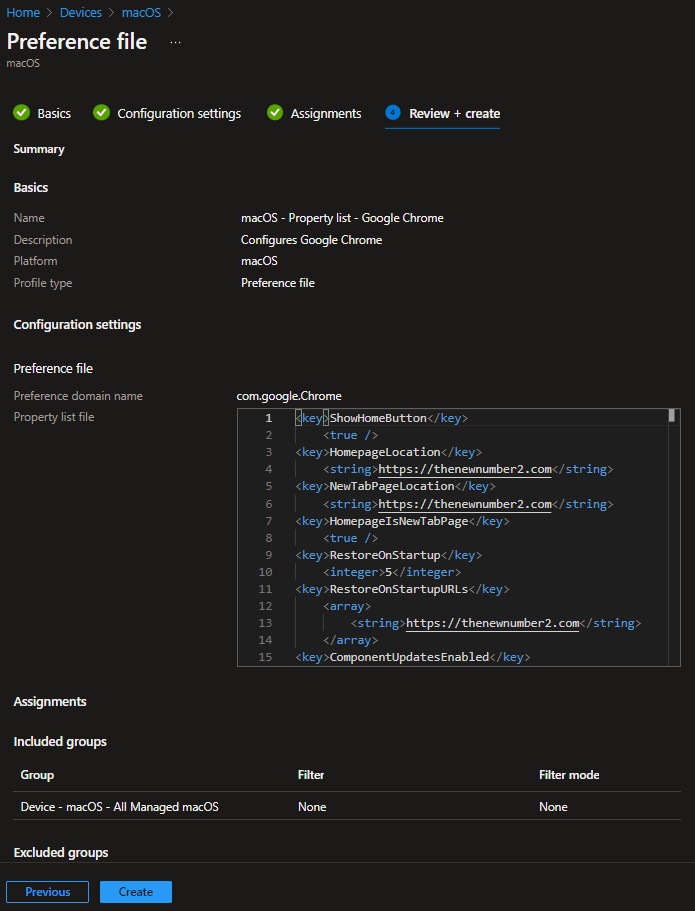
In the Microsoft Intune admin center, go to Devices → macOS → Configuration → Create → New policy. Choose macOS as platform. Under Profile type, select Templates, then Preference file, and click Create. On Basics, give the profile a name (e.g. “Chrome – macOS settings”) and an optional description. On the Preference file settings page, set Preference domain name to com.google.Chrome. Upload your com.google.Chrome.plist file. Intune will display the contents; confirm the keys and values look correct. Assign the profile to an Entra ID group that contains your managed macOS devices (e.g. all Macs or a pilot group). Review and create the profile.
Below: Intune Configuration profiles – Create profile.
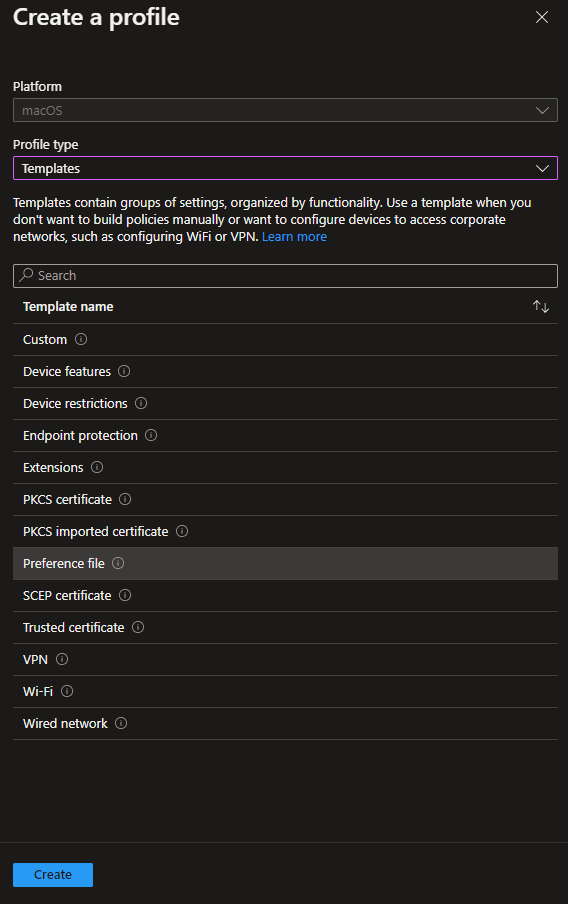
The screenshot shows selecting the Preference file template for macOS.
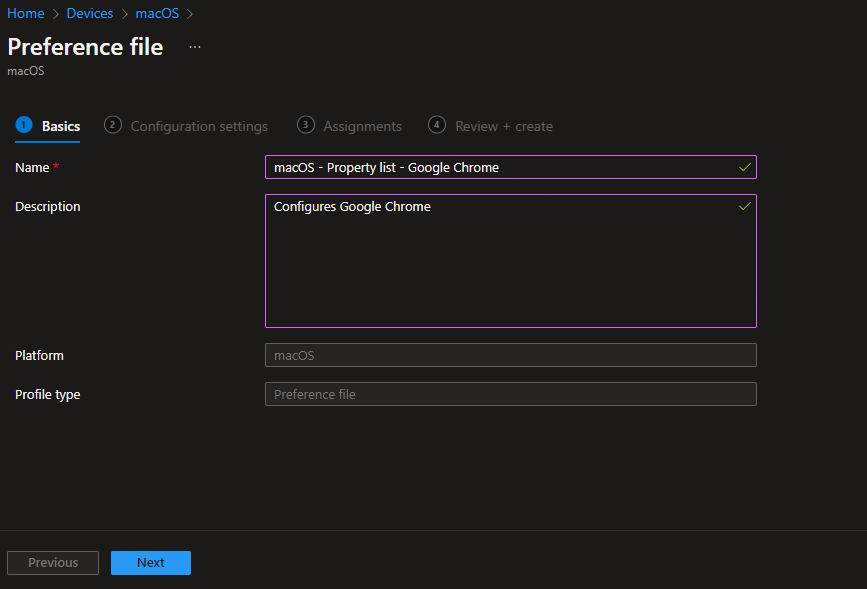
Below: configuration profile name and description.
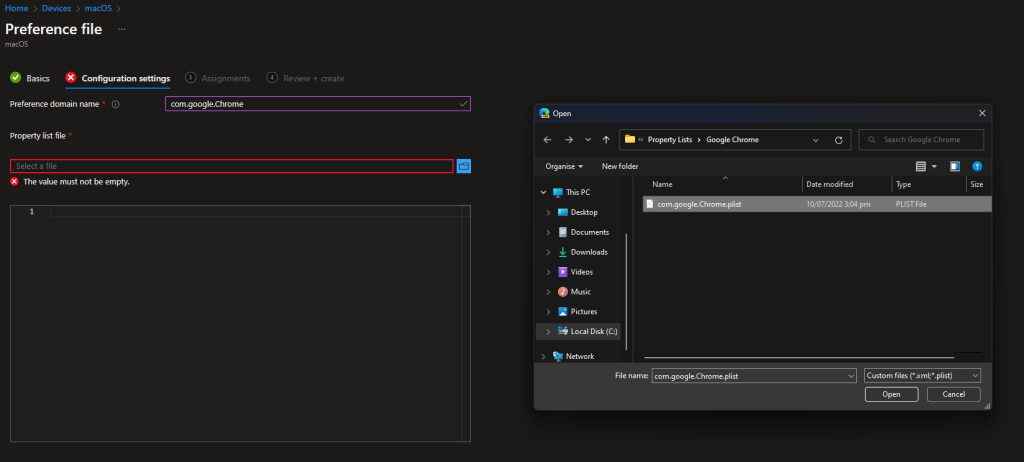
The following screenshot shows the preference domain name com.google.Chrome.
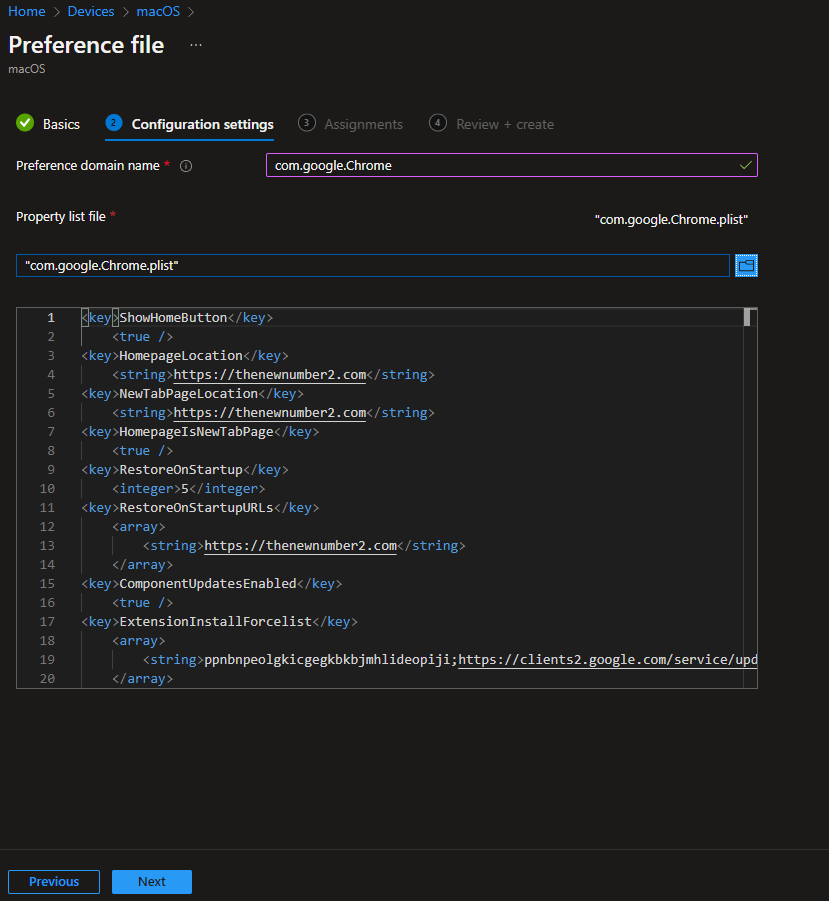
Below: uploading the plist file.
The screenshot shows plist file contents displayed in Intune.
Below: assigning the profile to an Azure AD group.
The following screenshot shows review and create configuration profile.
Verify and Where Settings Live
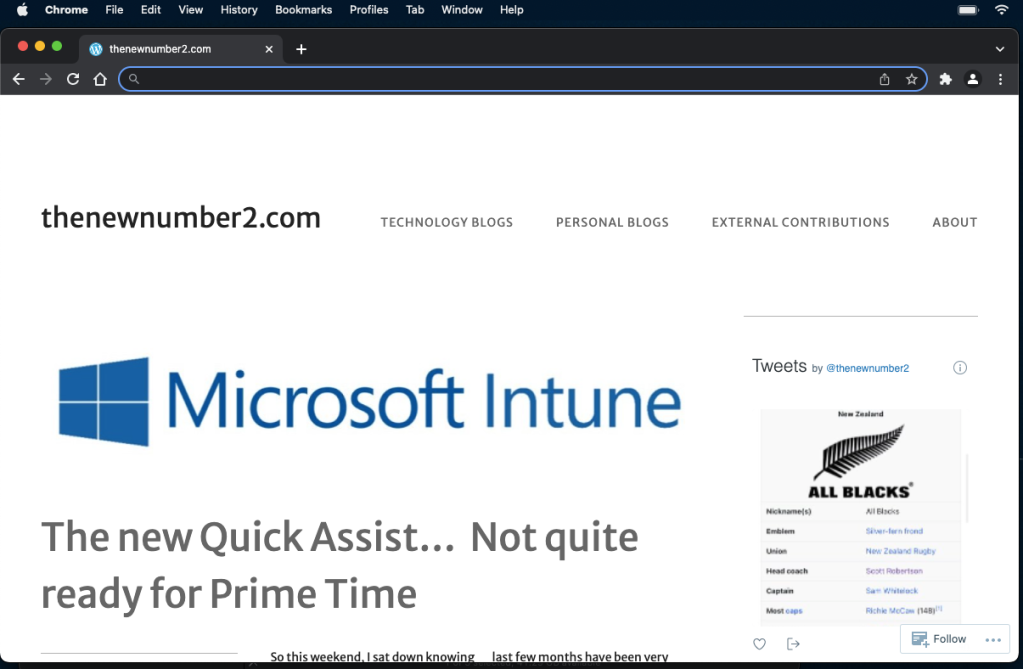
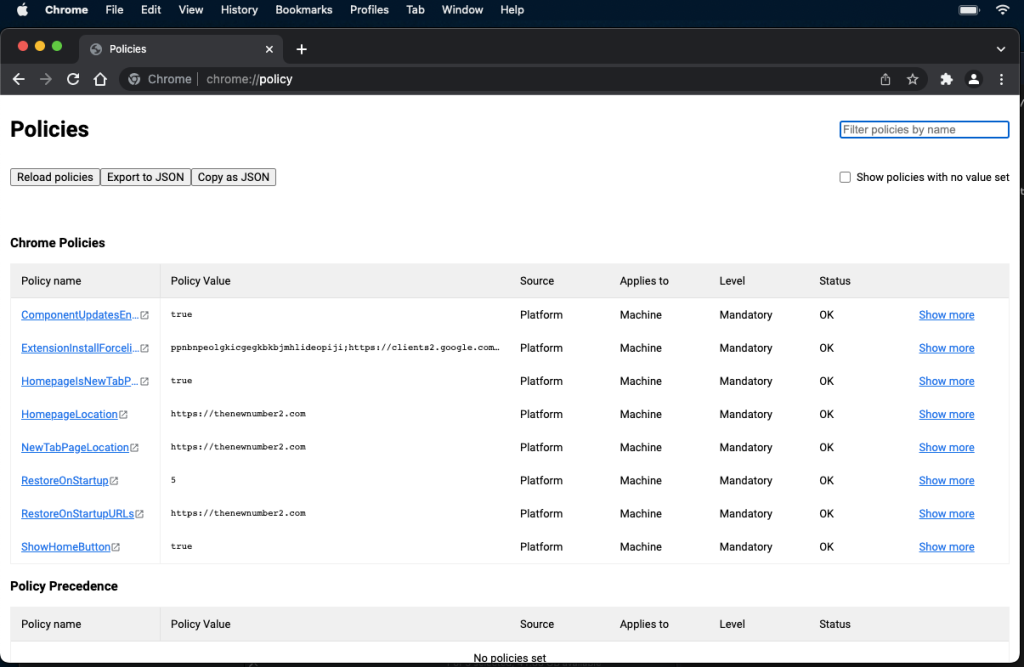
After the device syncs, open Chrome on the Mac. The homepage, new tab page, and forced extension should reflect the profile. In Chrome, go to chrome://policy to see all policies applied to the browser; managed policies are marked as such. You can also check Chrome Settings. Managed settings are locked and users cannot change them. On the Mac, Intune-deployed preference files are stored under /Library/Managed Preferences; the system may add XML headers and tags when writing the file. If a setting does not apply, confirm the preference domain is com.google.Chrome, the plist format matches Intune’s requirements, and the policy names and types match the Chrome Enterprise documentation.
Below: Chrome on macOS with applied settings.
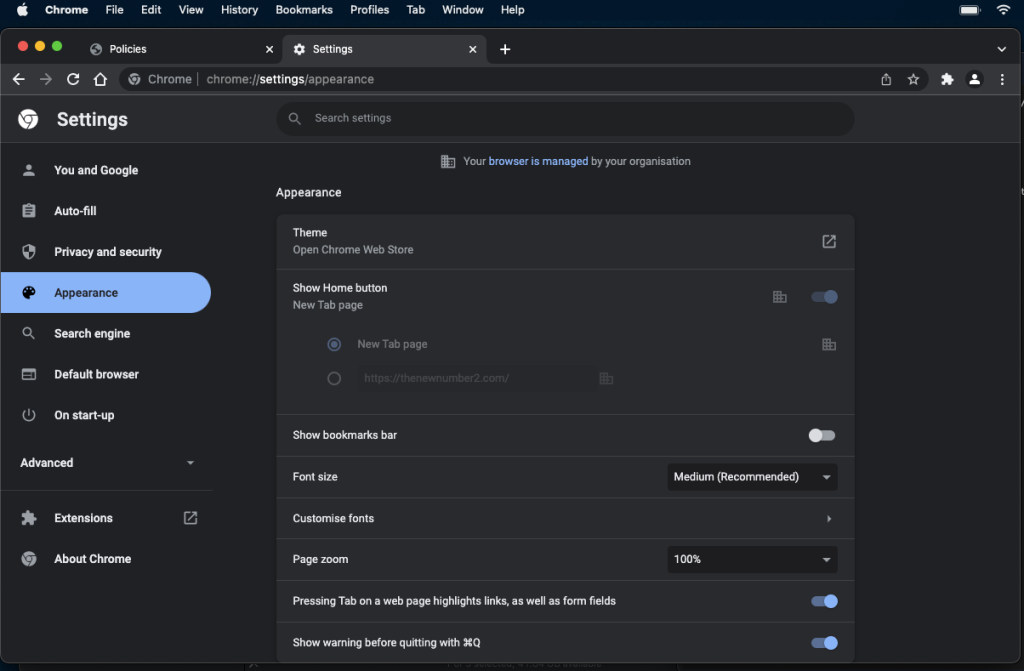
The screenshot shows the chrome://policy page with applied policies.
Summary
To configure Google Chrome on macOS with Intune: (1) Use the Chrome Enterprise policies list to find policy names and types for macOS; follow Microsoft’s Preference file documentation so your plist matches the format Intune expects. (2) Build a plist (e.g. com.google.Chrome.plist) with the keys and values you need (homepage, home button, new tab, restore on startup, extensions, etc.). (3) In Intune, create a Preference file configuration profile (Devices → macOS → Configuration → Templates → Preference file). Set Preference domain name to com.google.Chrome, upload the plist, assign to your macOS device group, and create the profile. (4) Verify in Chrome (behavior, chrome://policy, Settings). Managed preferences are stored under /Library/Managed Preferences. This gives you a consistent way to enforce Chrome settings on Macs alongside your Windows Chrome configuration.